Uncategorized

Cubequarium

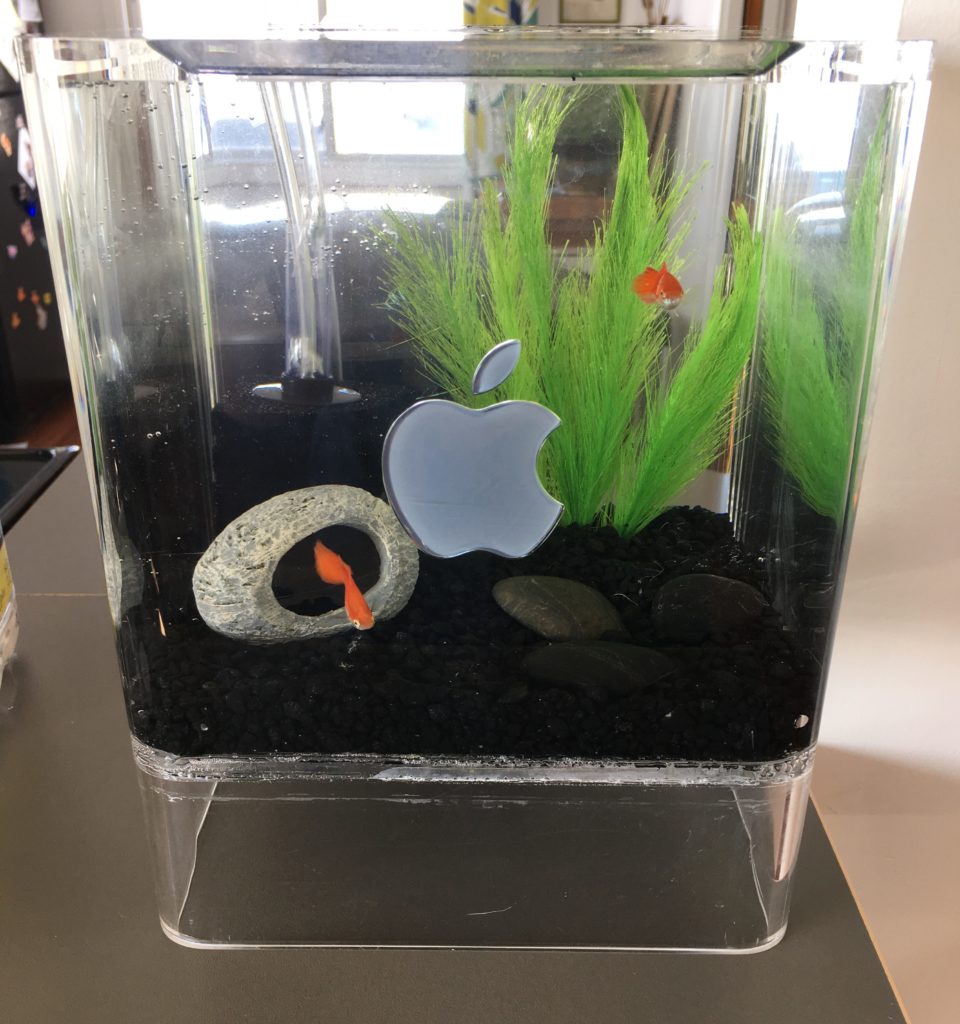
Years ago I started seeing some pretty cool Macquariums online and one in particular inspired me to make my own. It was a G4 Cube. The Cube is one of the most elegant computers ever designed, so much so that form got in the way of function and the G4 cube was plagued with all sorts of problems from overheating, to being under-powered, cracking cases, proprietary speakers, special monitor connectors, and not enough peripheral ports. Sadly the G4 was doomed and while nobody can argue that it’s design is stunning, it was after all supposed to be a high end computer. It was discontinued and has faded into history as a beautiful flop. But hey, turns out it makes an amazing 1.2 Gallon Macquarium!
So my journey began when I found a cube online that someone had made and it inspired me to troll eBay for a good deal on a cube. My then girlfriend and future wife thought it was a ridiculous project. As the weeks went on, I slowly moved the project to the back burner, but then one day my girlfriend gave me a package and said “I bought you something.” It turned out to be a G4 Cube acrylic shell! So for those cringing, no I did not destroy a working machine.

Step 1: Trial and Tribulation

From here I bought a scrap piece of acrylic from a local window store, cut it to size, and filed the corners to match the inside radius. I also carefully drilled a tiny hole on the back and two sides of the case and the bottom piece and inserted tiny nails to help support the weight of the water and rocks just in case the worst ever happened. This wasn’t necessary in the end, but was good because of the trouble I made for myself.

Next I made a trip to the pet store and bought up rocks, plants, and aquarium silicone. The silicone was the mistake. After putting silicone on the inside and outside seams, filling it with water, decorations, and fish I had an amazing Macquarium. After a few months it needed a cleaning. Did I mention the hole on the top is tiny? Well, it is and it makes this tank tricky to get inside. After cleaning and reassembly things were fine for a few days until I noticed some minor leaking! Long story short, I took it all apart, removed the old silicone and applied new silicone and tried again, only to have the same result after a few more months. I was moving soon, so in the box it went into the shadows of time.

Take 2: The redemption

Last year, I found the box in my basement. Marriage, career, kids, and time all led to it sitting there for 12 years. I thought it might be nice for my daughter and foster daughters to have an easy fun little pet to watch and feed, so the tank came out of storage and the repairs began. The problem before was the silicone. While it works good on glass tanks, acrylic flexes much more than glass and eventually this flexing causes the silicone to pull away and create leaks. What I needed was acrylic glue. High strength, and crystal clear.

I found it in Weld-On #4 and #16. It is amazing on plastics of almost any kind, but is outstanding on acrylic. After cleaning off the old silicone, I sealed the entire bottom to the bottom side with Weld-On #16. Then after it dried, from the inside I carefully used Weld-On #4 with a needle dropper to seal the space between the case and the bottom panel and after that dried I sealed the top side of the bottom with more #16. After a water test, it was clear that the support nails I used years ago would never had been needed had I used this glue to begin with, but live and learn.

Weld-On #4 is the consistency of water and really hard to work with, but it works great on thin gaps or cracks like the hairline cracks the cube is prone to. Use it with extreme care and only with a needle dropper. #16 is easier to work with and is more like modeling glue.

Conclusion

A year later, the Cubequarium is still 100% leak free and working great! If you choose to make your own Macquarium, good luck and Retro on!

Things you need for this project

  • Old G4 case
  • Acrylic for bottom
  • Weld-On #4 and #16
  • Coping Saw
  • File
  • Sandpaper
  • Something to support the bottom while you glue
Uncategorized

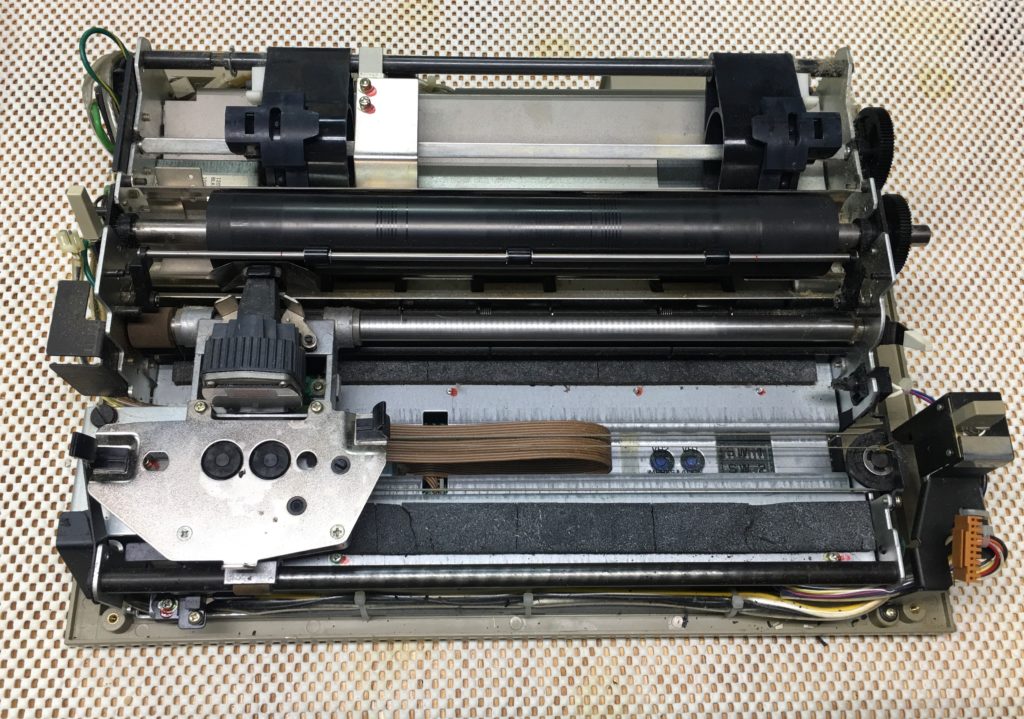
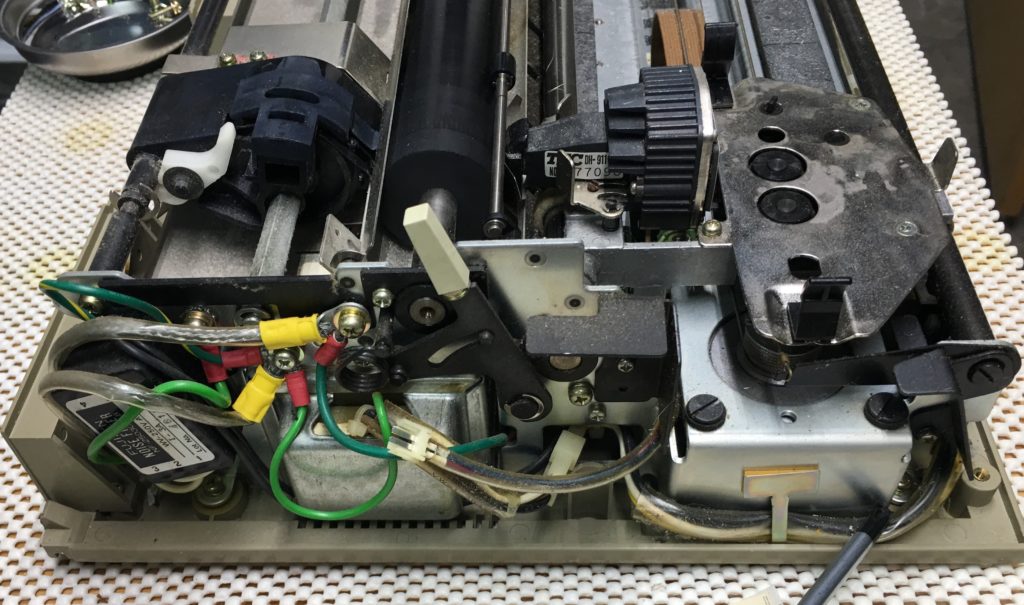
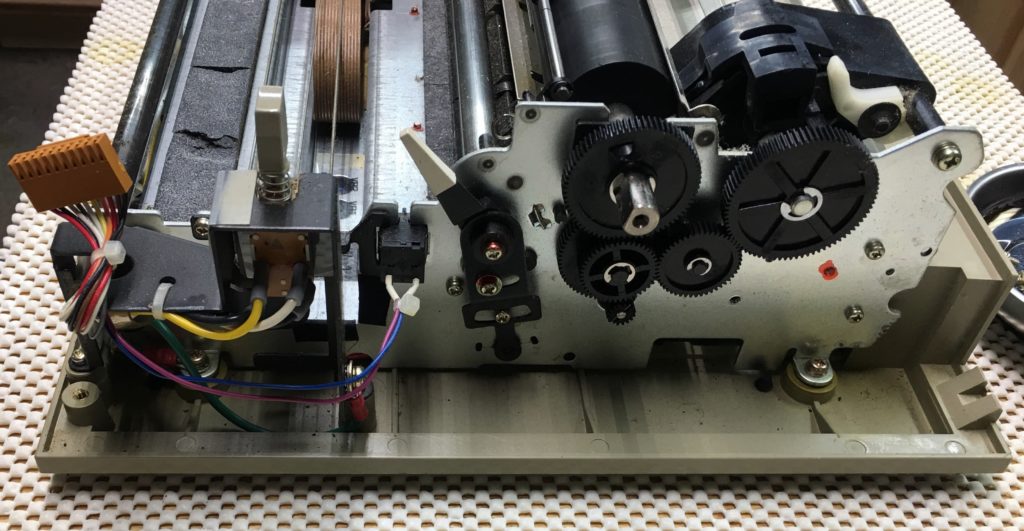
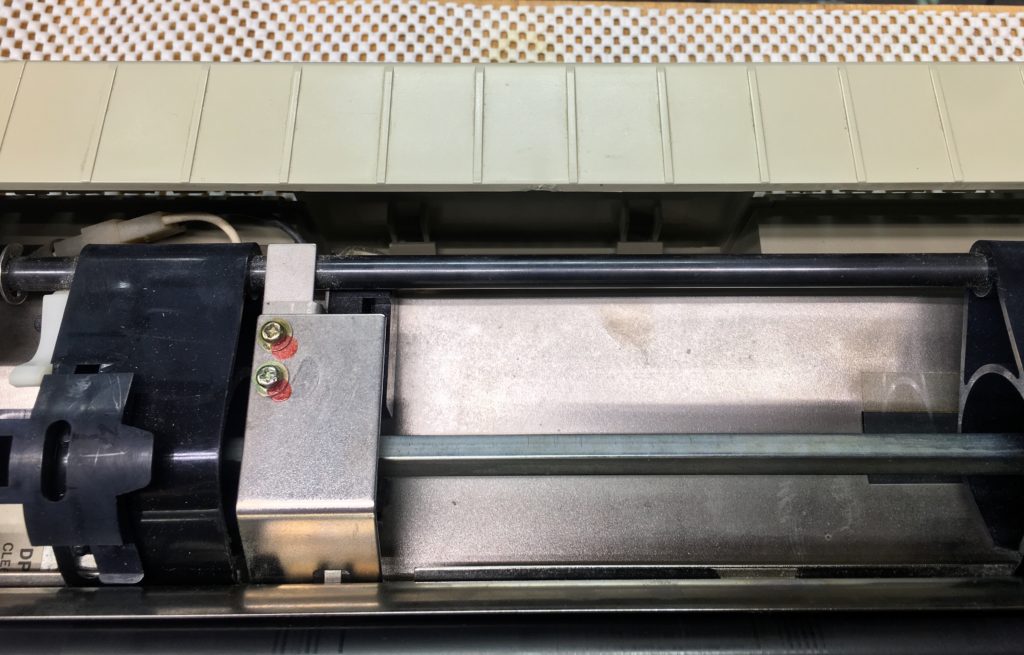
ImageWriter I Teardown

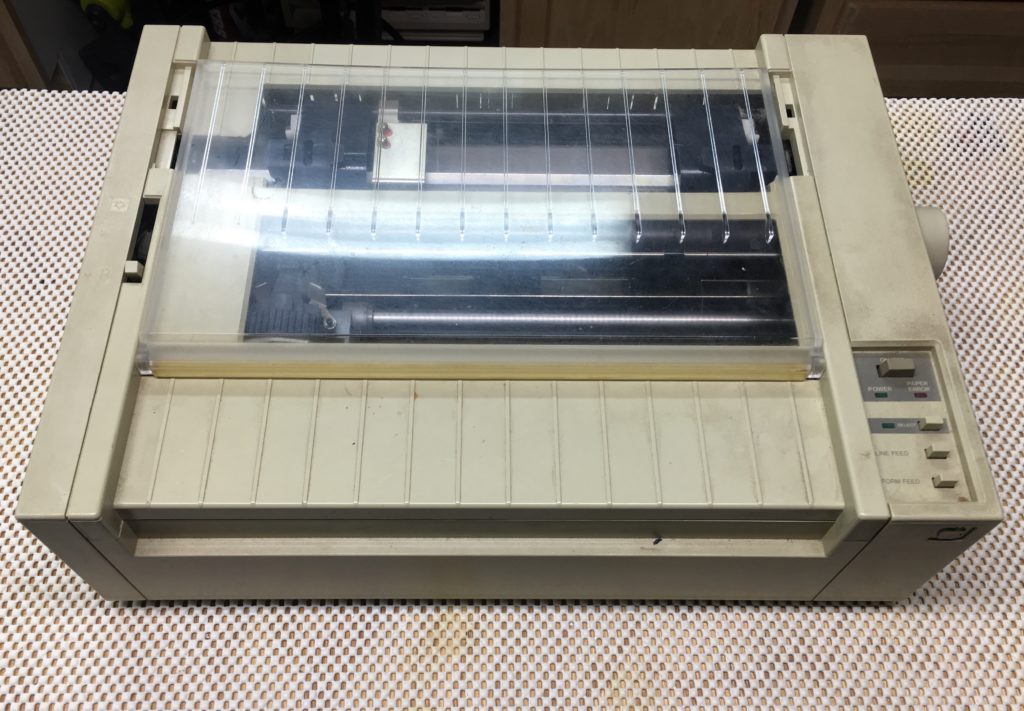
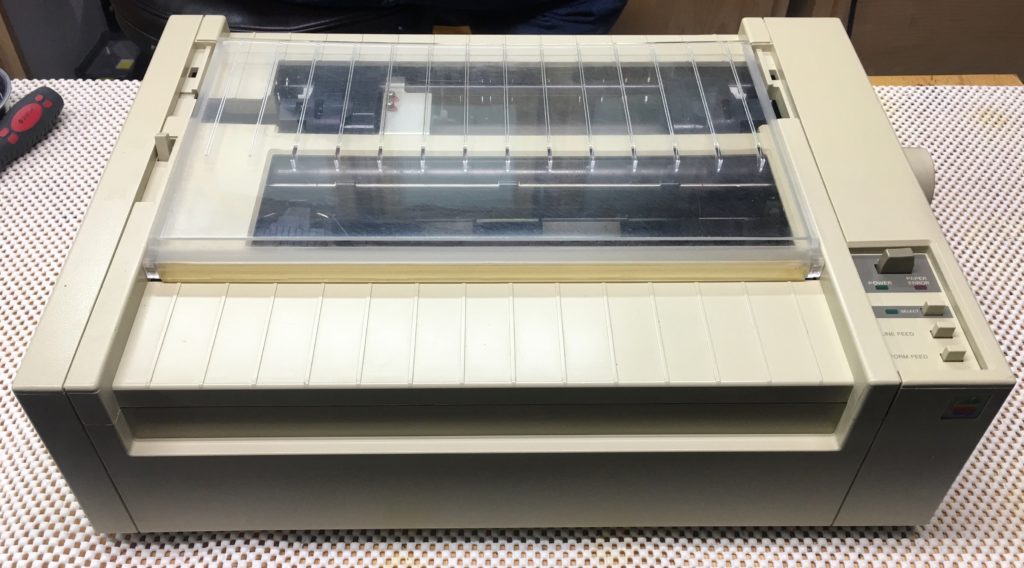
A while back I picked up two Apple ImageWriter I printers in rough shape. One worked, but looked like it had been dropped off the edge of a desk, the other didn’t work, but had most of the plastic intact. So a case swap was in order. The only problem was I couldn’t get the case apart. Worse still I couldn’t find any teardowns or technical manuals for it online. The ImageWriter II seemed to have most of the glory online, so I thought it was time to set the record straight and give the ImageWriter I a teardown of its own, and have some fun doing it.

Step 1

  • Remove the cover from the top of the printer.
  • Remove the paper feed knob by gently pulling straight out.

Step 2

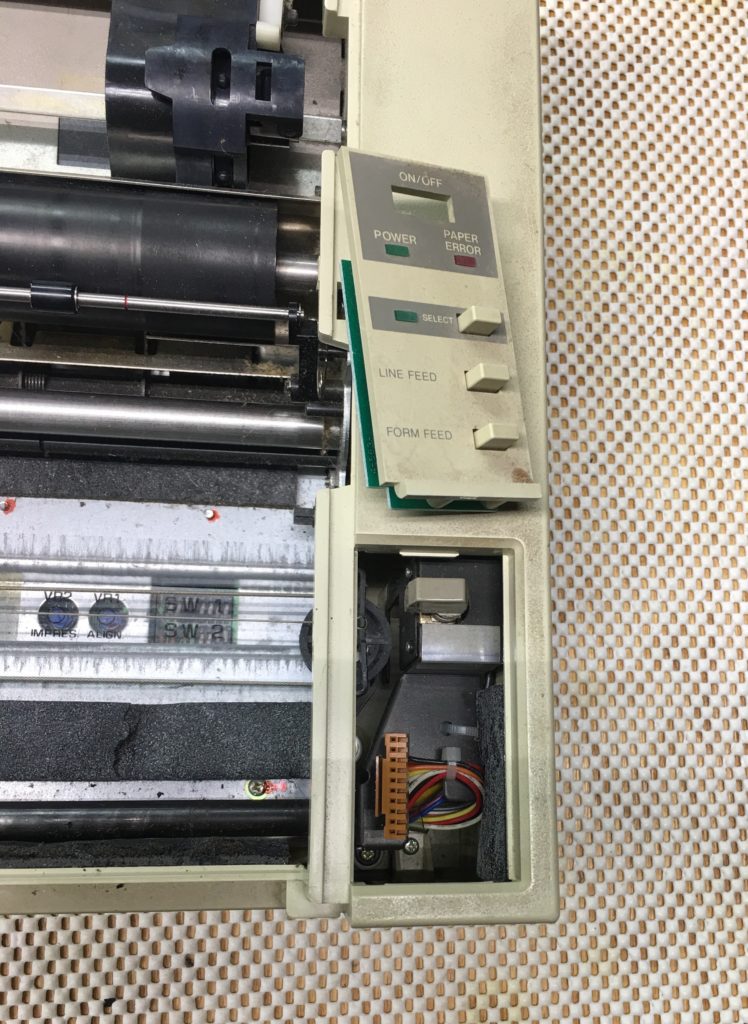
  • Remove the control pad from the case.
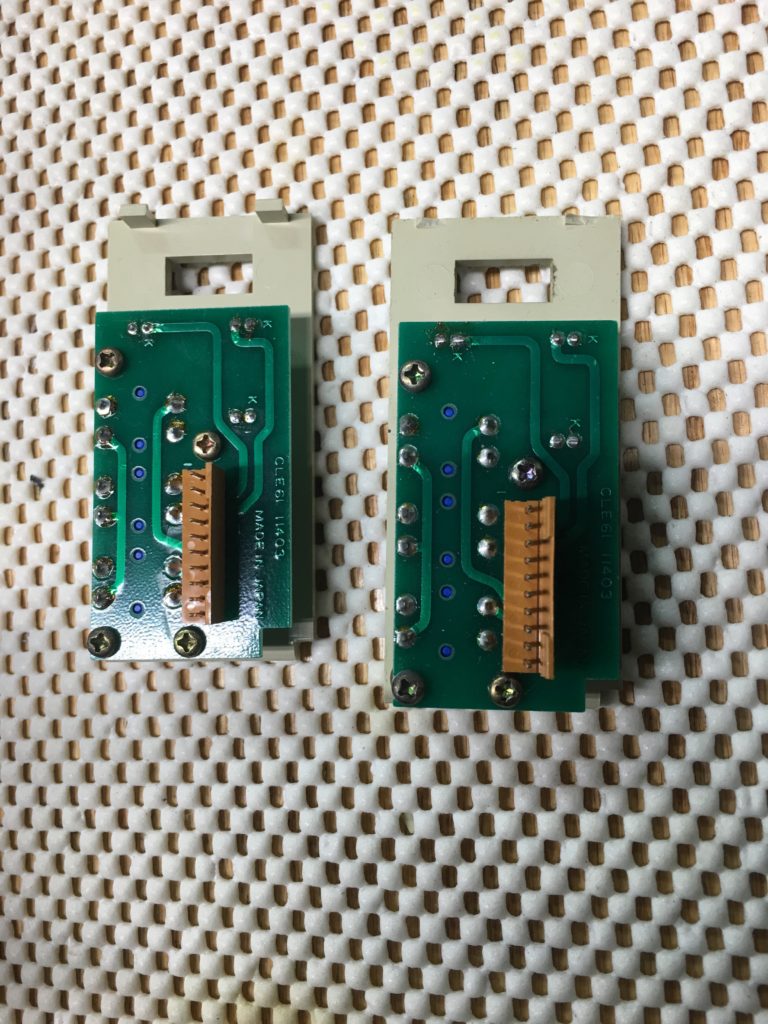
  • There are two clips along the top edge of the control pad that NEED to be pushed in which will then allow you to pivot the top edge towards you until you can unhook the bottom edge.
  • NOTE: Please heed my warning. These printers are very old and the plastic is very brittle. The left shows the clips intact. The right shows what happens if you are not careful.

Step 3

  • Remove the cable holding the control panel on by gently rocking the connector side to side.
  • Locate and remove the screw underneath holding the case on.
  • There is a matching screw on the left side in the same location as this one on the right.

Step 4

  • Pull up on the ribbon cartridge to remove it.
  • locate the second matching screw hidden on the front left of the case and remove it.

Step 5

  • The front of the case should now lift up and hinge backward.
  • NOTE: It is a tight fit, so you may have to wiggle it slightly to clear some of the internals.
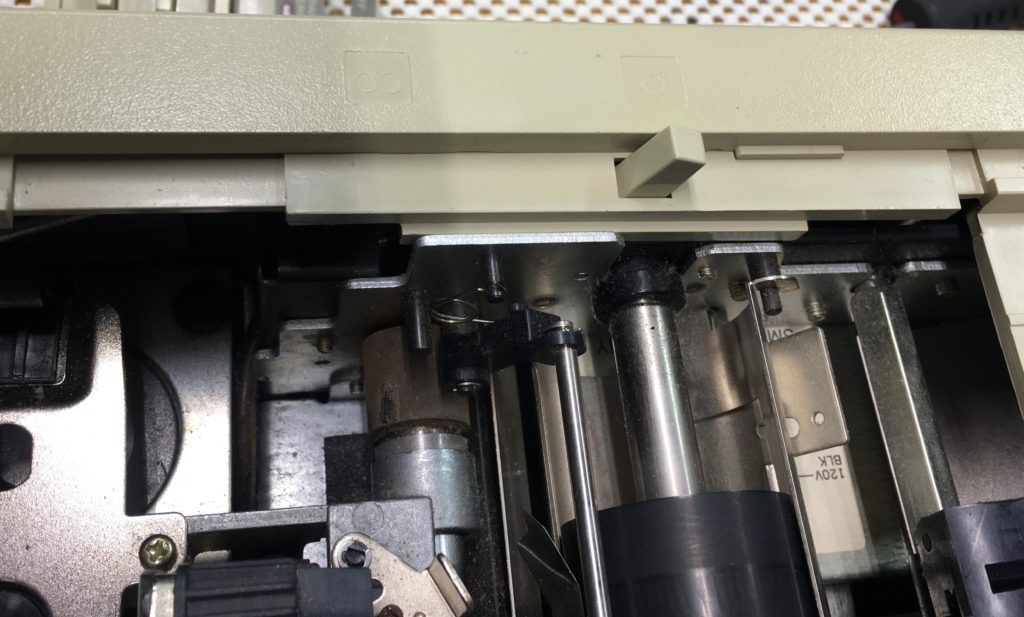
  • As you lift the case, you will have to disconnect the lid sensor from the left side of the case.
  • At this point you should be able to press down on the back of the case to release the 4 clips hinging the case.
  • NOTE: If you lift the front of the case too high without uncliping the back clips, you will break them. Be careful 🙂

Step 6

  • There are two screws on the right side holding the assembly on if you feel the need to remove it.
  • And there are also two on the left side holding it on.

Re-assembly

  • To Re-asseble, follow these instructions in reverse, but there are two cautions I will include.
  • Make sure the rear clips are completely engaged before hinging the case back down or you could break them. They are trickier than they look.
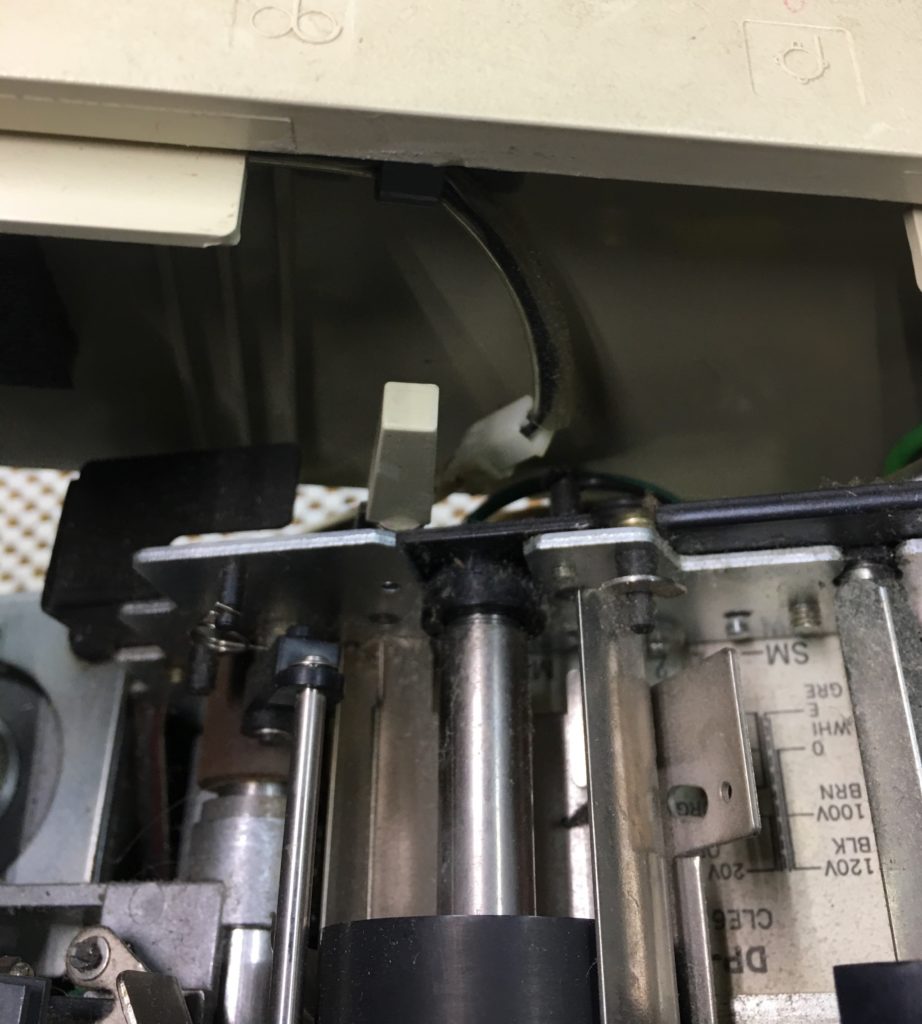
  • The tensioner lever cover must be placed on the outer case and lowered onto the switch, but be very careful to make sure it stays lined up or the metal innards will make it go SNAP!

Cleaning the Print Head

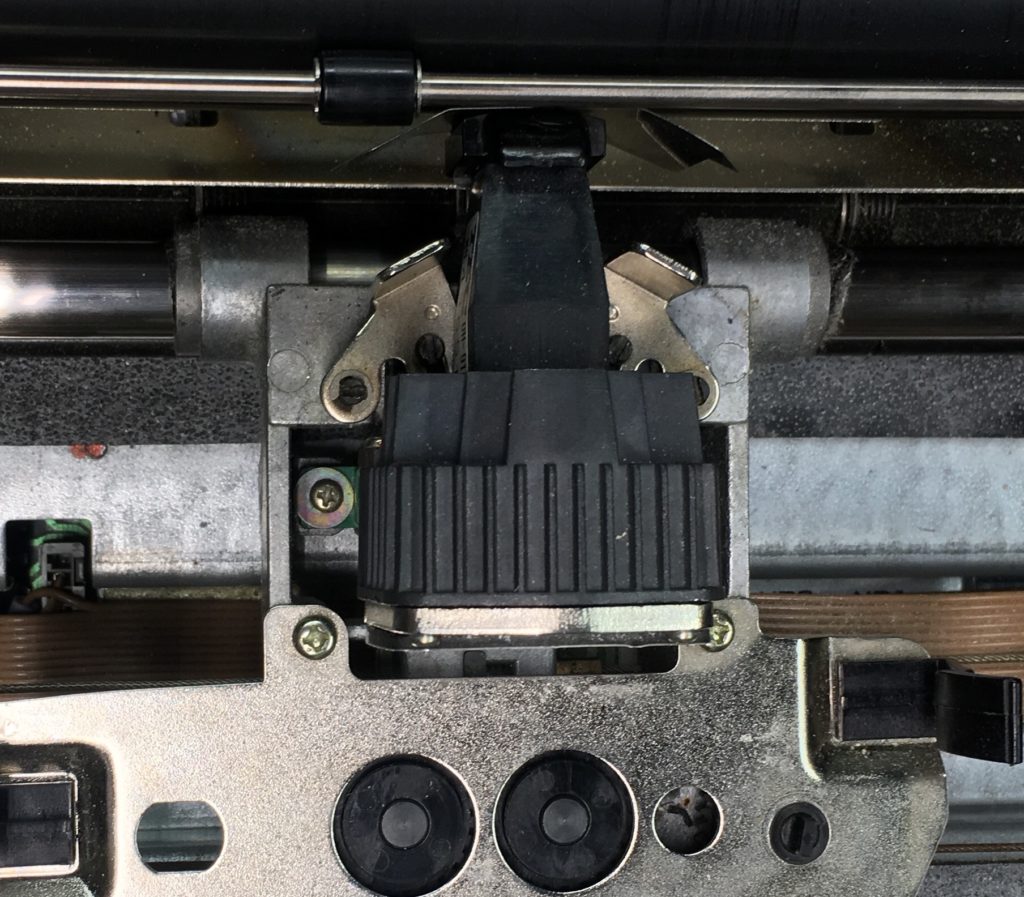
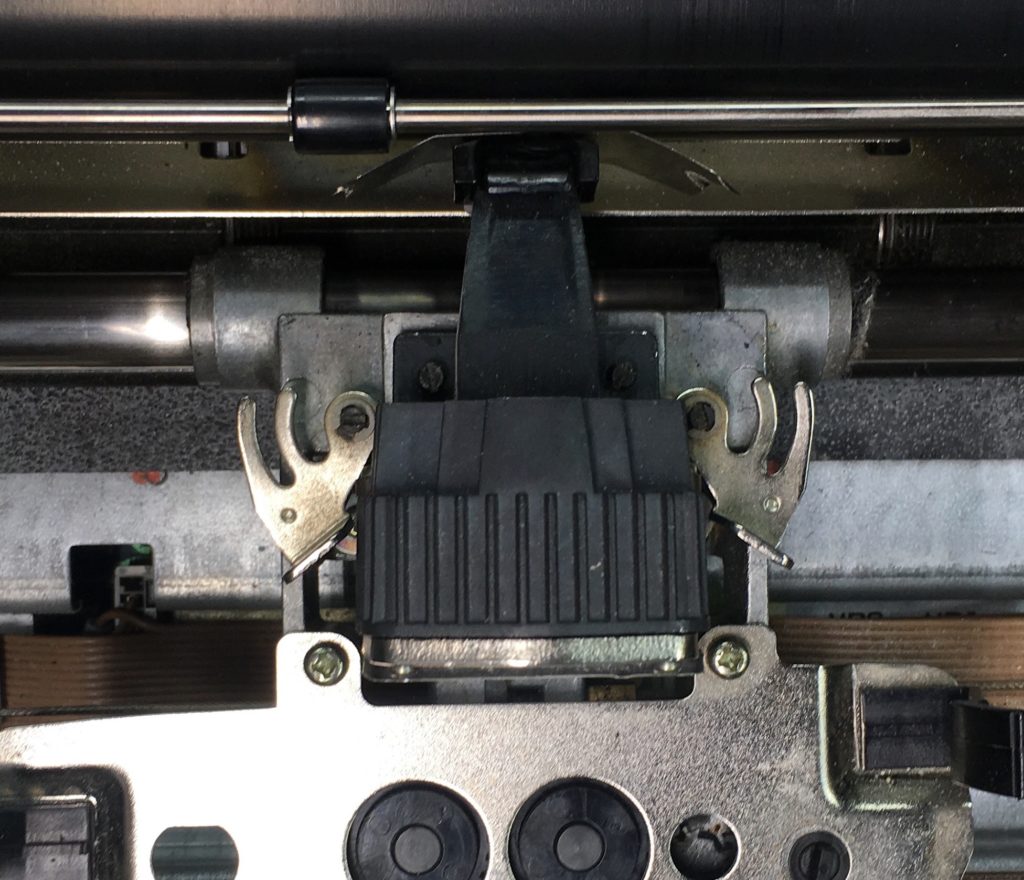
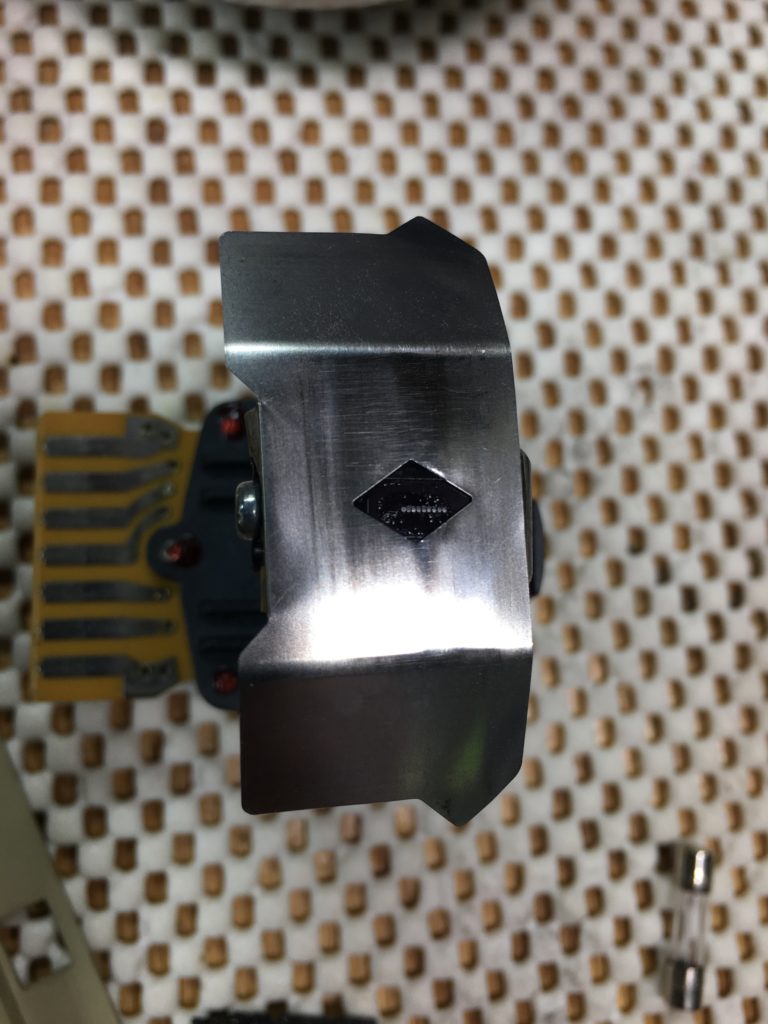
  • To clean the head and the pins of the printer, rotate the two metal clips on each side of the head.
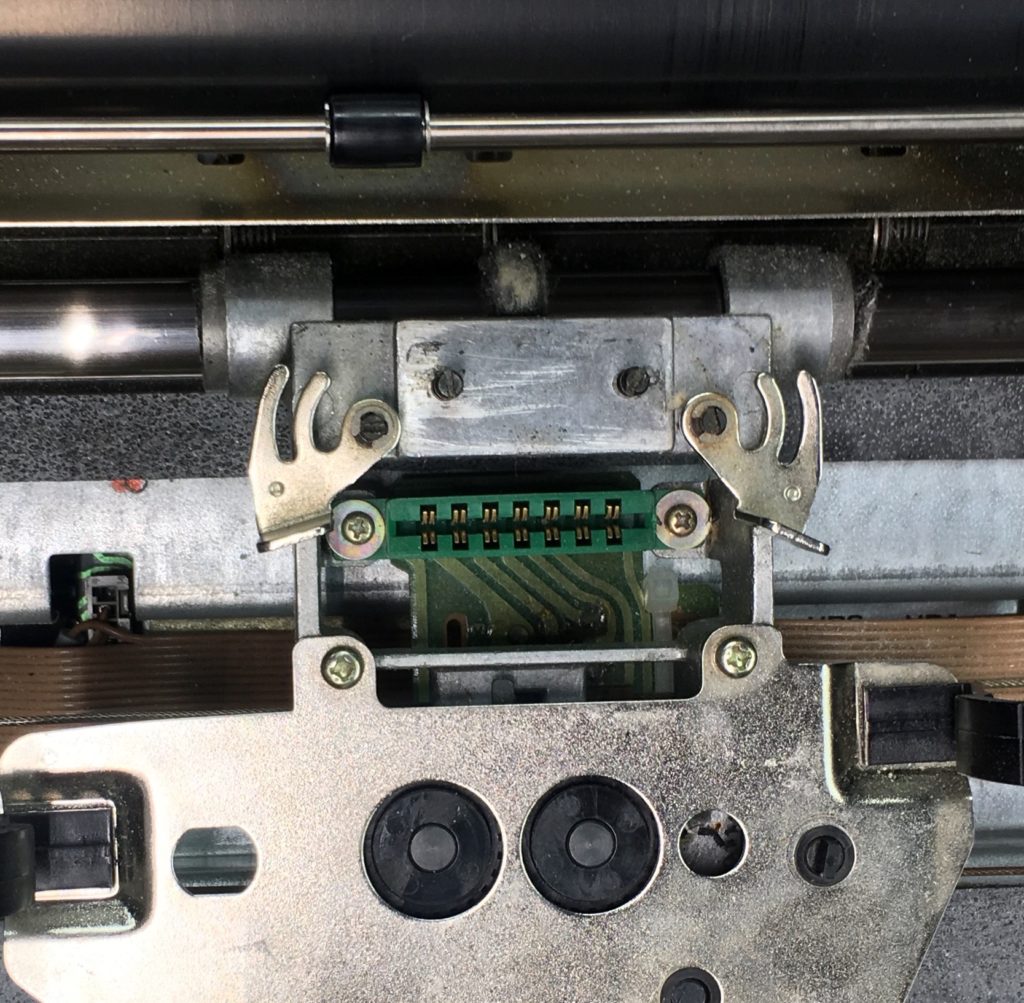
  • And then gently pull the printer head straight up.
  • The head and pins can be cleaned with isopropyl alcohol and cotton swab.
  • Make sure to re-oil the pins after cleaning with a dot matrix print head oil or a 3-in-1 oil.
  • NOTE: Oil should also fix any stuck pins. Just apply oil and let it sit for a period to work its way into the pin.

Testing the Printer

  • To run the printer test sheet, load the paper into the printer and make sure the cover is on. NOTE: If the cover sensor does not sense the cover, it will not print the test page.
  • With the printer off, hold down the FORM FEED button and ON/OFF button until it begins to print and then release the buttons.
  • To stop the test print, press the ON/OFF button to turn off the printer.

A Clean Printer is a Happy Printer

  • Last of all, remember to give your printer case a good cleaning.
  • Blow out any dust with some compressed air.
  • Make sure to always print with a well inked ribbon, and…
  • Retro On!
Uncategorized

How to Uninstall Mac OS 9 Programs

There are a number of items to delete.
So drag all the following relevant items to trash, then empty it.
1) the applications folder itself (not the Mac OS9 Applications folder, but the one relating to the program to be deleted)
2) Preference files from the system folder, that relate to the program in question.
3) Extensions that relate to the program
(System folder > extensions) or via extensions manager control panel.
4) Installer logs for the program in question.
These are often in the first level of the Start up system disk, or system folder. Simply use finder “find” files function to loacte any outstanding bits of stuff for the trash.
5) Incertain specialised cases there may also be a Control Panel relating to the program, these are to be found in the system folder >> Control panels folder.
Thats the lot.