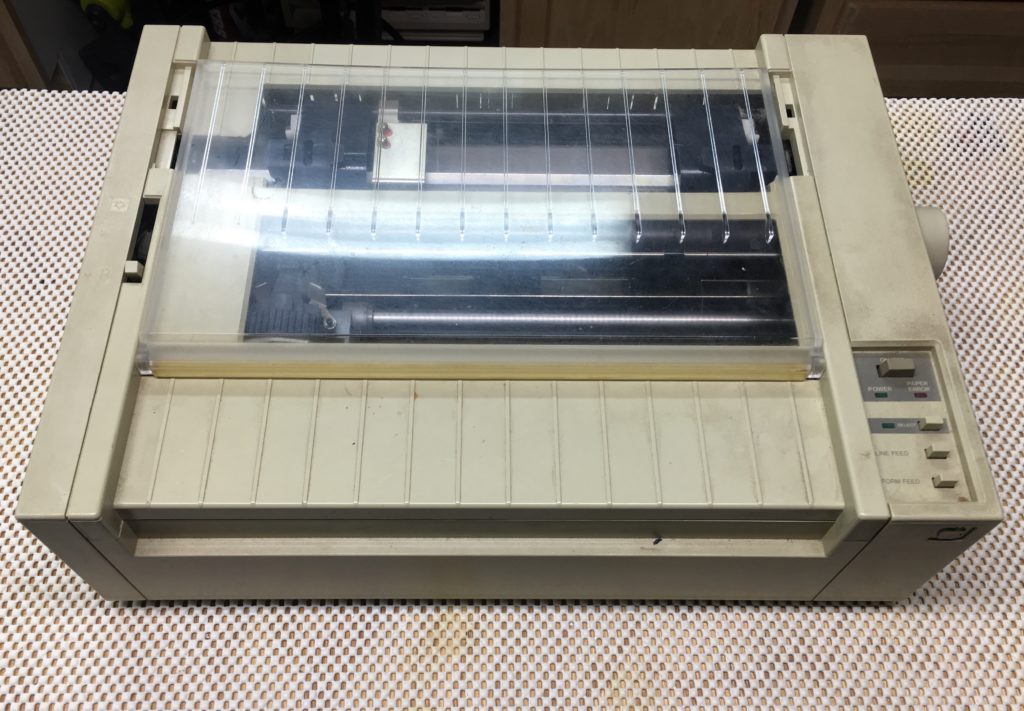
A while back I picked up two Apple ImageWriter I printers in rough shape. One worked, but looked like it had been dropped off the edge of a desk, the other didn’t work, but had most of the plastic intact. So a case swap was in order. The only problem was I couldn’t get the case apart. Worse still I couldn’t find any teardowns or technical manuals for it online. The ImageWriter II seemed to have most of the glory online, so I thought it was time to set the record straight and give the ImageWriter I a teardown of its own, and have some fun doing it.
Step 1

- Remove the cover from the top of the printer.
- Remove the paper feed knob by gently pulling straight out.
Step 2

- Remove the control pad from the case.
- There are two clips along the top edge of the control pad that NEED to be pushed in which will then allow you to pivot the top edge towards you until you can unhook the bottom edge.
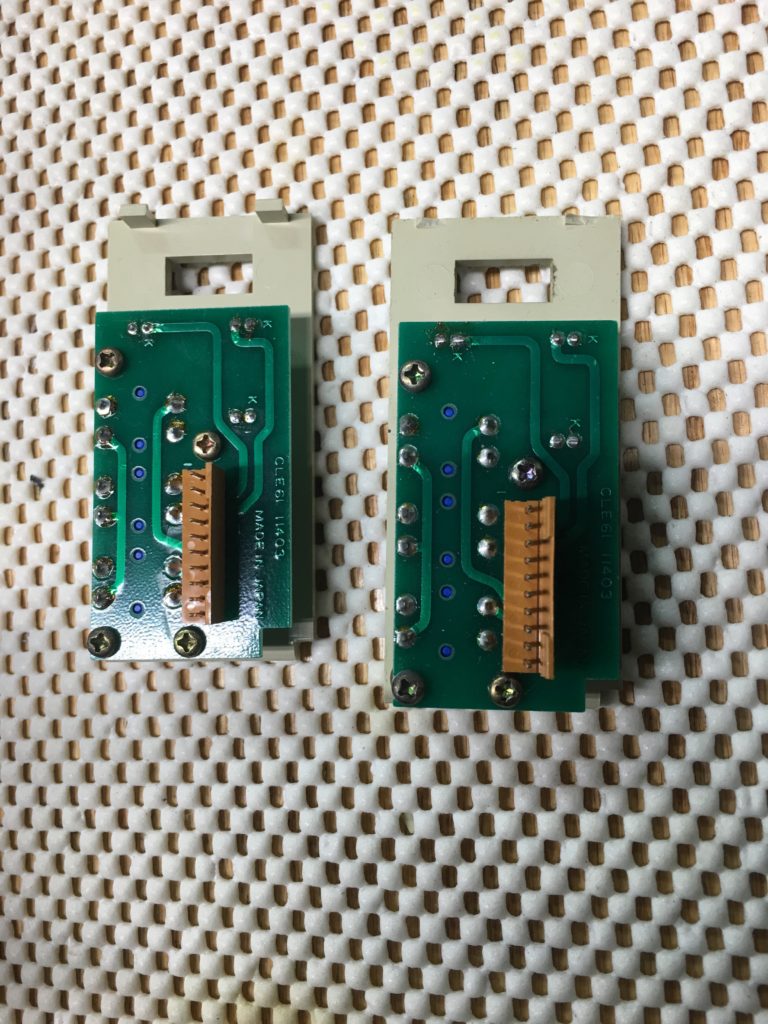
- NOTE: Please heed my warning. These printers are very old and the plastic is very brittle. The left shows the clips intact. The right shows what happens if you are not careful.
Step 3
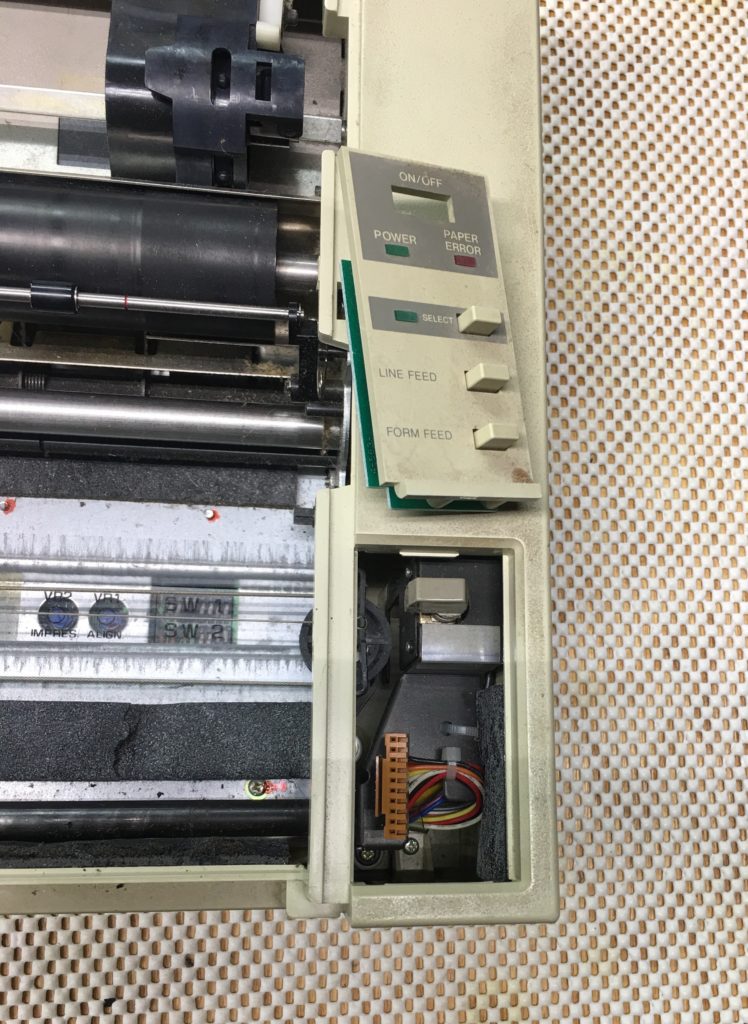
- Remove the cable holding the control panel on by gently rocking the connector side to side.
- Locate and remove the screw underneath holding the case on.
- There is a matching screw on the left side in the same location as this one on the right.
Step 4

- Pull up on the ribbon cartridge to remove it.
- locate the second matching screw hidden on the front left of the case and remove it.
Step 5

- The front of the case should now lift up and hinge backward.
- NOTE: It is a tight fit, so you may have to wiggle it slightly to clear some of the internals.
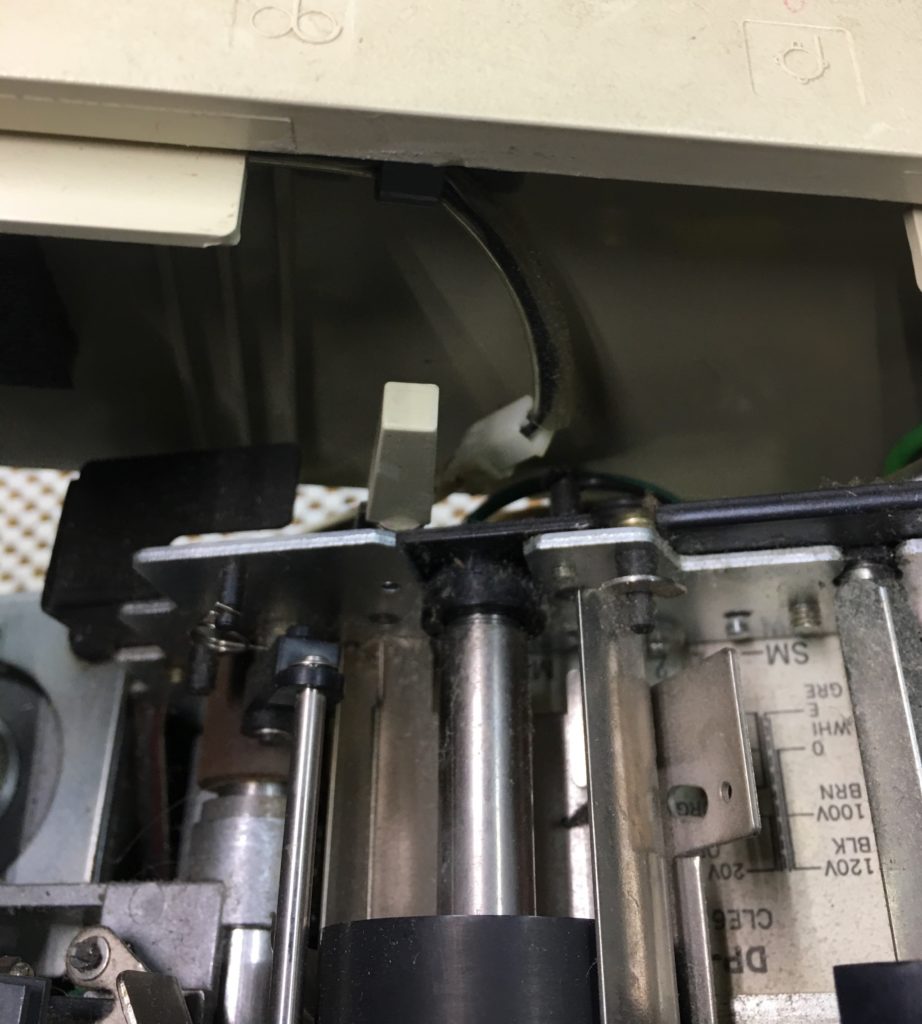
- As you lift the case, you will have to disconnect the lid sensor from the left side of the case.
- At this point you should be able to press down on the back of the case to release the 4 clips hinging the case.
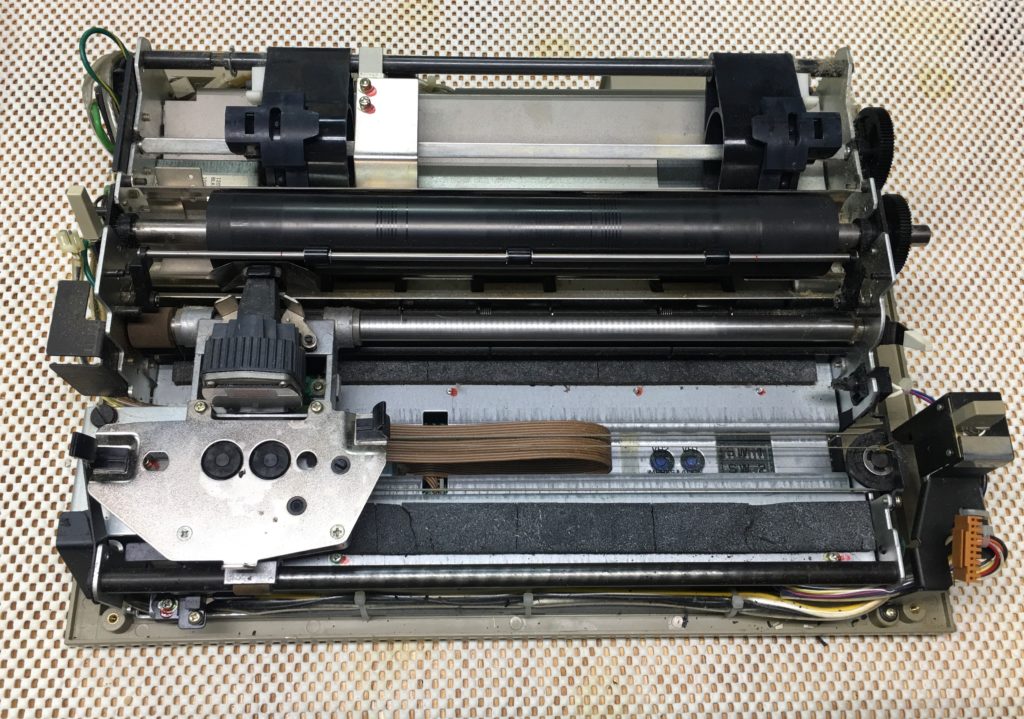
- NOTE: If you lift the front of the case too high without uncliping the back clips, you will break them. Be careful 🙂
Step 6
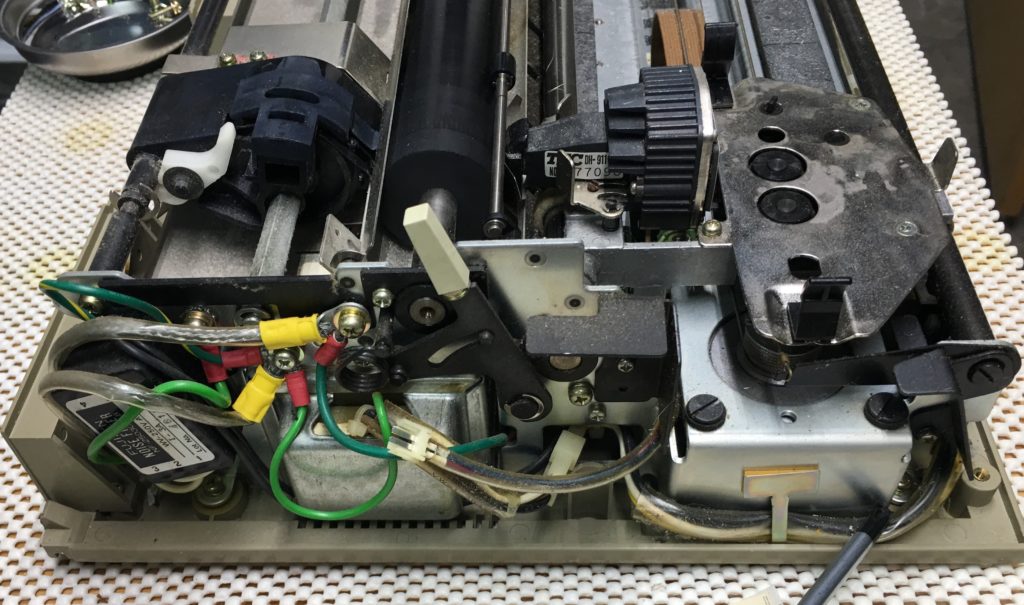
- There are two screws on the right side holding the assembly on if you feel the need to remove it.
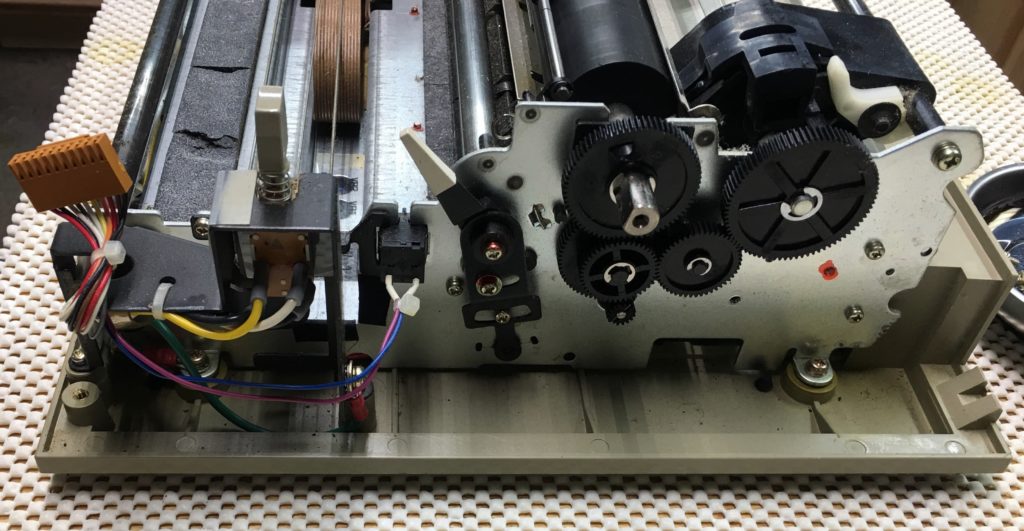
- And there are also two on the left side holding it on.
Re-assembly
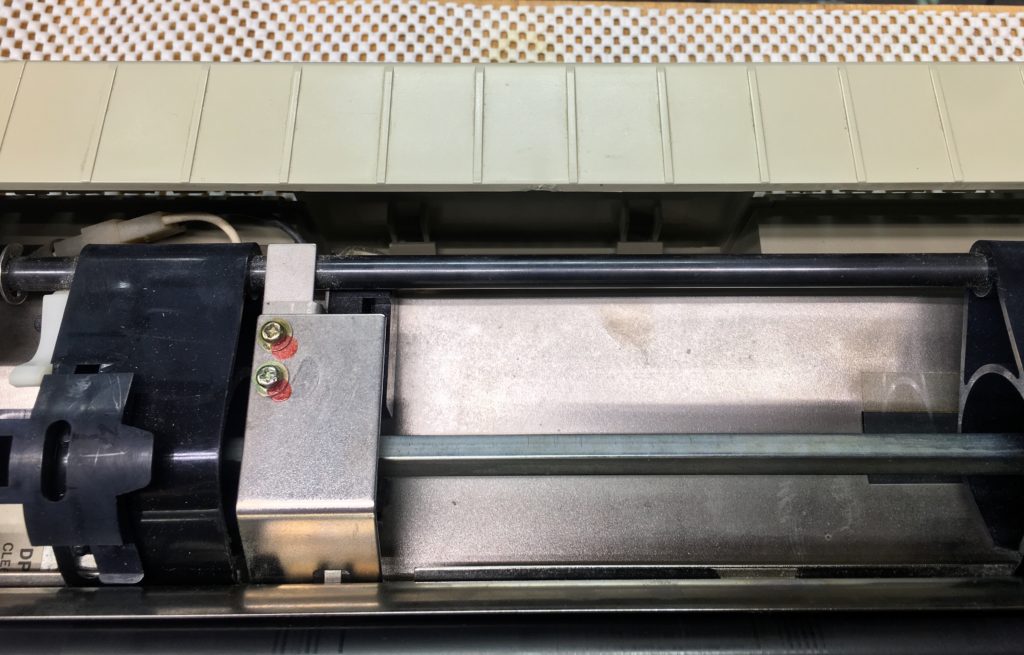
- To Re-asseble, follow these instructions in reverse, but there are two cautions I will include.
- Make sure the rear clips are completely engaged before hinging the case back down or you could break them. They are trickier than they look.
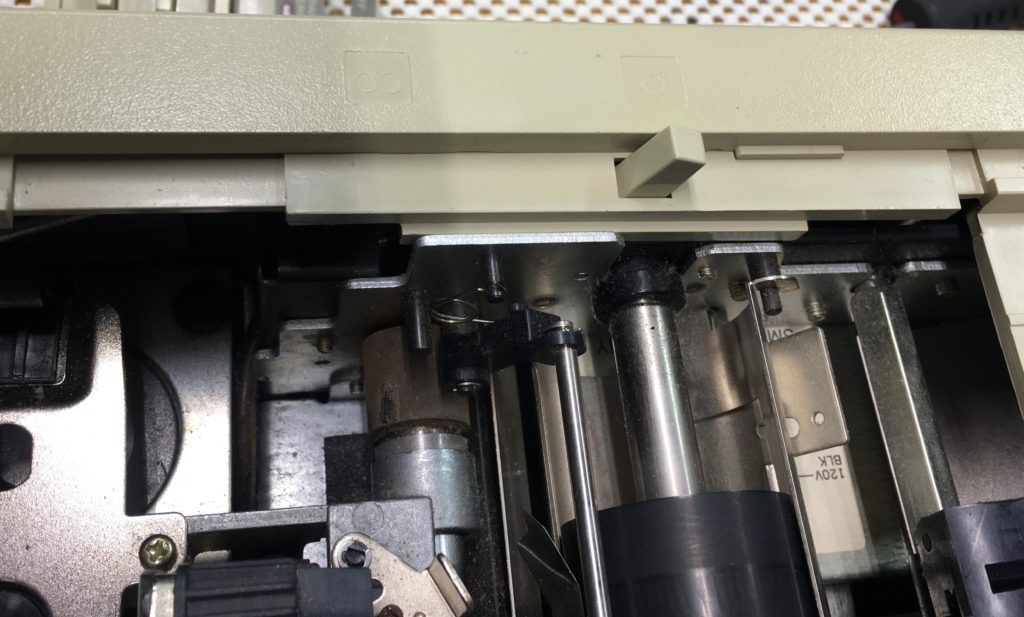
- The tensioner lever cover must be placed on the outer case and lowered onto the switch, but be very careful to make sure it stays lined up or the metal innards will make it go SNAP!
Cleaning the Print Head
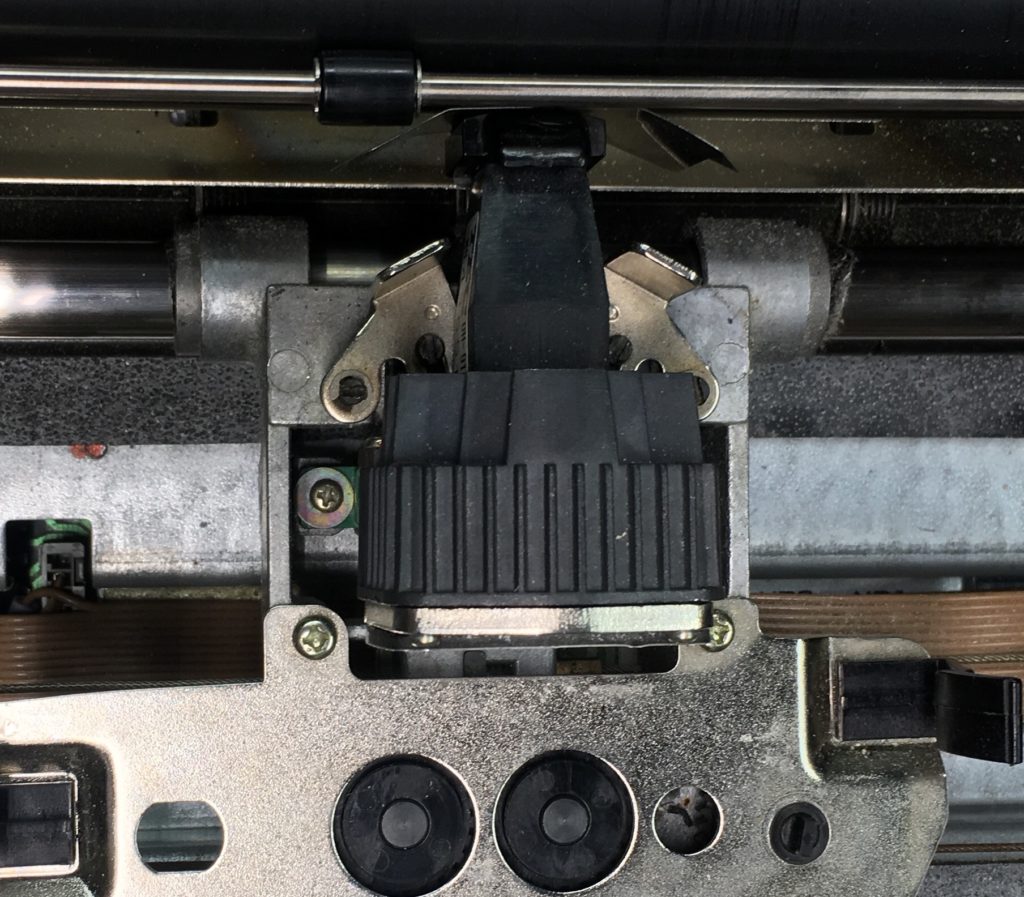
- To clean the head and the pins of the printer, rotate the two metal clips on each side of the head.
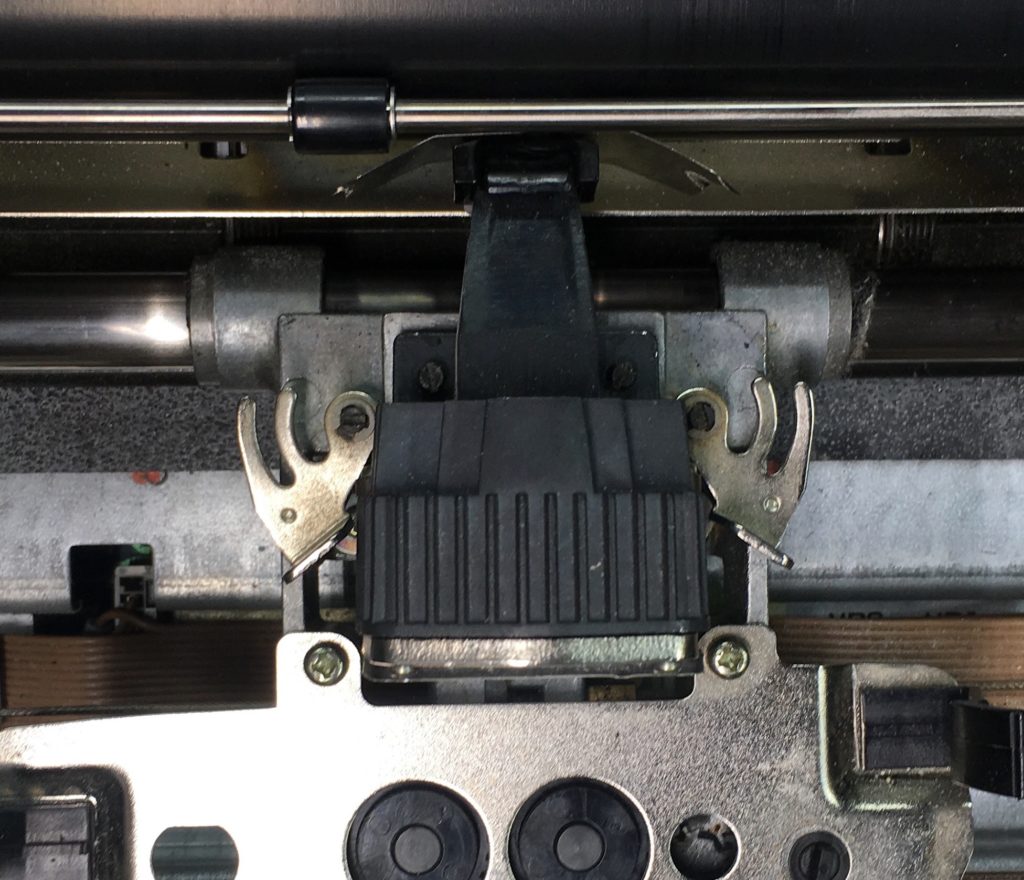
- And then gently pull the printer head straight up.
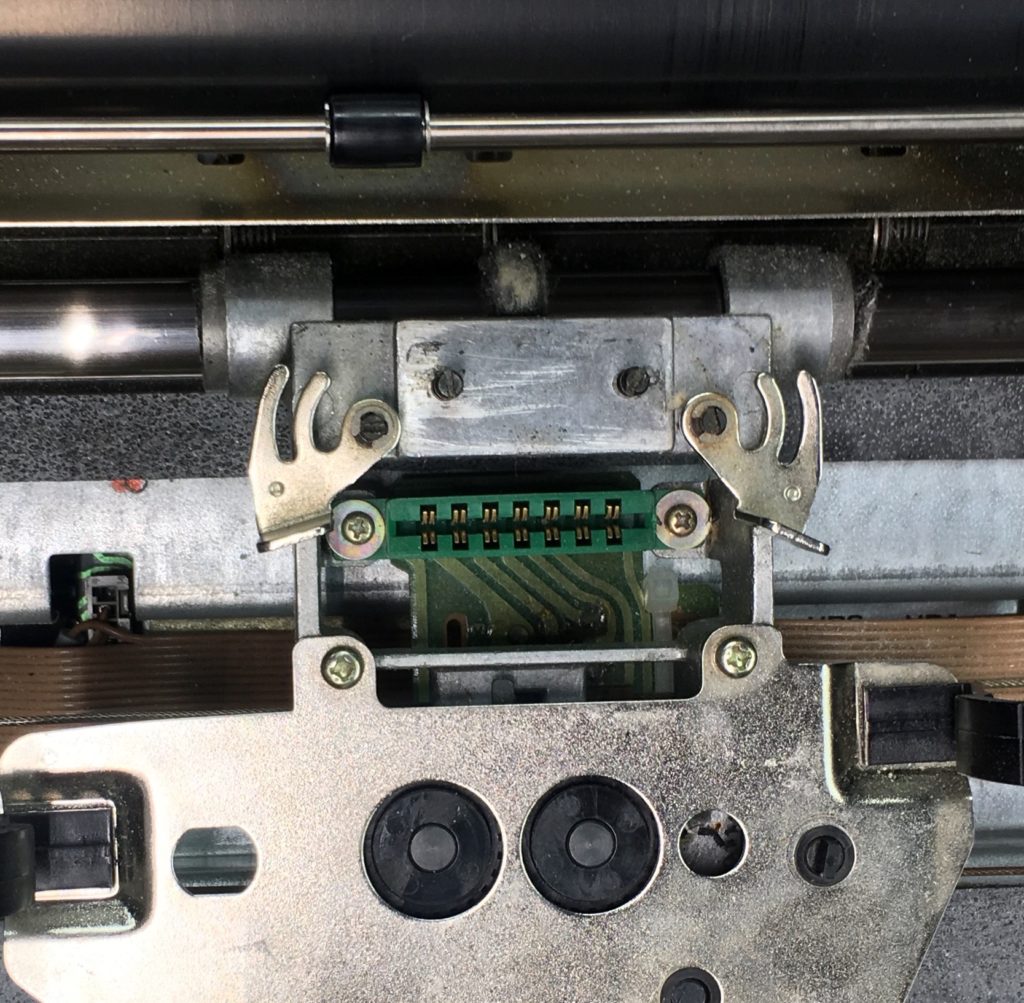
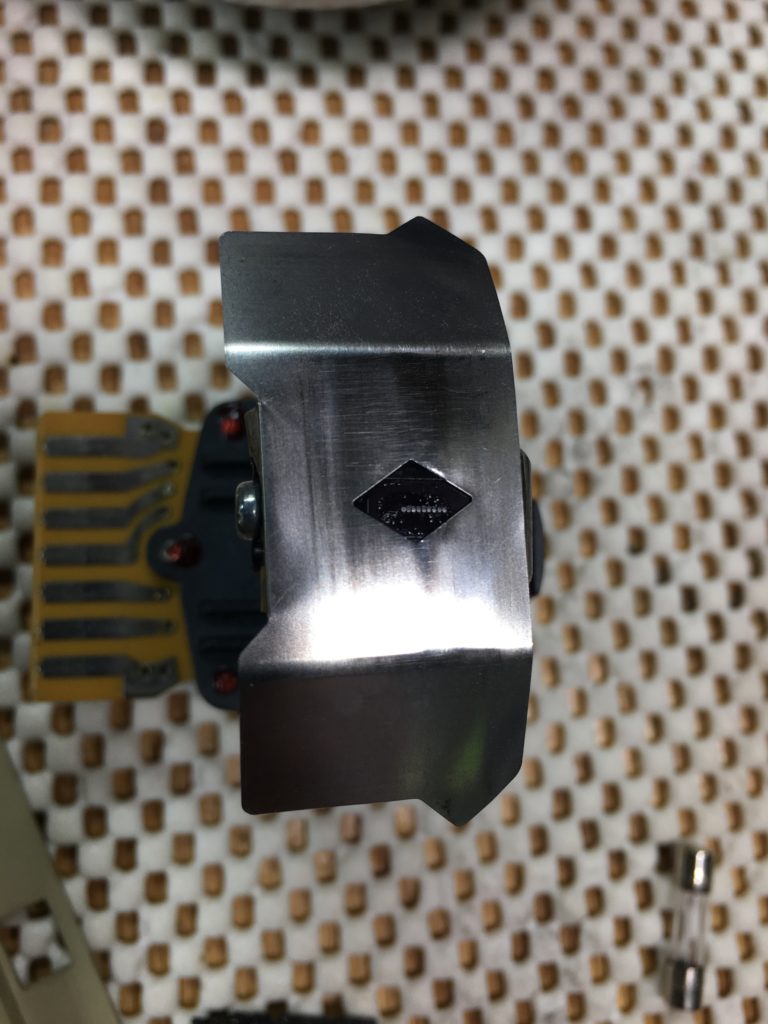
- The head and pins can be cleaned with isopropyl alcohol and cotton swab.
- Make sure to re-oil the pins after cleaning with a dot matrix print head oil or a 3-in-1 oil.
- NOTE: Oil should also fix any stuck pins. Just apply oil and let it sit for a period to work its way into the pin.
Testing the Printer
- To run the printer test sheet, load the paper into the printer and make sure the cover is on. NOTE: If the cover sensor does not sense the cover, it will not print the test page.
- With the printer off, hold down the FORM FEED button and ON/OFF button until it begins to print and then release the buttons.
- To stop the test print, press the ON/OFF button to turn off the printer.
A Clean Printer is a Happy Printer
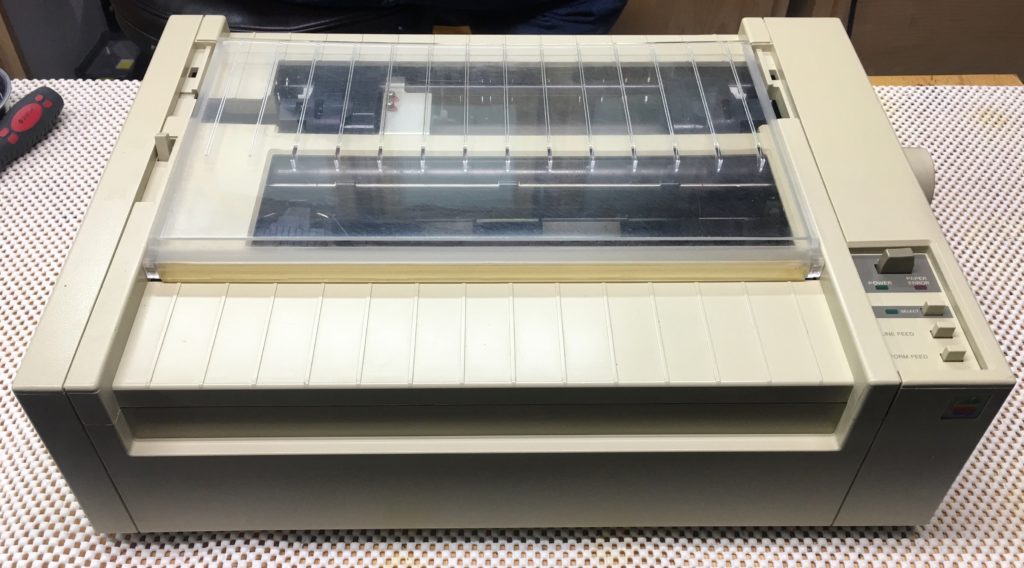
- Last of all, remember to give your printer case a good cleaning.
- Blow out any dust with some compressed air.
- Make sure to always print with a well inked ribbon, and…
- Retro On!

Recent Comments